How to Clean Toner Cartridge Contacts: A Simple Guide
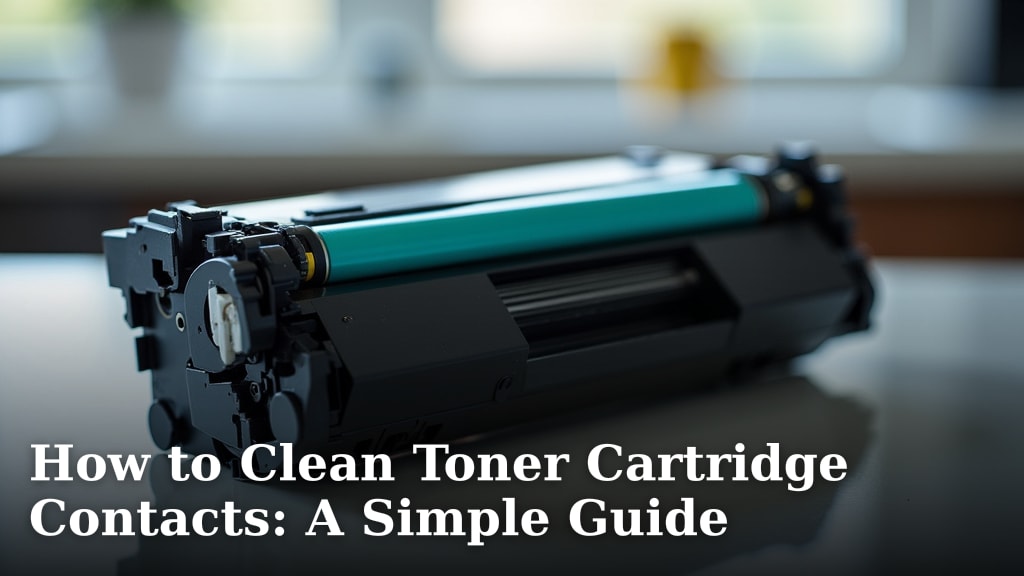
The easiest way to clean toner cartridge contacts is with a dry, lint-free cloth. A gentle wipe can often remove dust or debris. This simple step can help your printer recognize the cartridge correctly. It prevents common printing errors.
Printer manufacturers often recommend this quick maintenance. Dirty contacts can cause If you’re wondering about disposal, our guide to old toner cartridges explains responsible options.“low toner” warnings when the cartridge is full. They might also lead to streaky or faded prints. Regular cleaning ensures your printer performs at its best.
- Clean contacts with a dry, lint-free cloth.
- Avoid moisture and harsh chemicals.
- Gently wipe, don’t scrub.
- This helps printers read cartridges accurately.
Let’s walk through exactly how to do this step by step. You’ll be printing clearly again in no time!
Keeping Your Printer Running Smoothly: Cleaning Toner Cartridge Contacts
Dirty contacts can really mess with your printer’s ability to “talk” to the toner cartridge. Think of them like the charging pins on your phone. If they’re grimy, the connection is bad, and nothing happens. Keeping these metal contacts clean is a simple maintenance task. It ensures your printer recognizes the cartridge correctly. This can save you a lot of printing headaches.
Why Do Toner Cartridge Contacts Get Dirty?
Over time, dust and tiny particles in the air can settle on almost everything. Your printer is no exception. These particles can accumulate on the electrical contacts of the toner cartridge. They can also get on the corresponding contacts inside your printer. Even a small amount of buildup can disrupt the electrical signal. This signal is what tells the printer important information, like the toner level and cartridge model.
Common Problems Caused by Dirty Contacts
When the connection is poor, your printer might not be able to read the cartridge properly. This can lead to a few annoying issues:
- “Low Toner” Warnings: You might get a message that the toner is low, even if the cartridge is brand new or has plenty of ink left. The printer just can’t “see” the full capacity.
- Printing Errors: Your printer might refuse to print altogether, displaying a generic error message. It might say something like “Cartridge Error” or “Replace Toner.”
- Poor Print Quality: Sometimes, a weak connection can affect how the toner is applied to the page. You might notice streaky lines, faded text, or uneven printing.
- Non-Recognition: In some cases, the printer might not recognize that a cartridge has been installed at all.
Gathering Your Cleaning Supplies
You don’t need a lot of fancy tools for this job. In fact, using the wrong things can cause more harm than good. Here’s what you should have on hand:
- A dry, lint-free cloth: This is your primary tool. A microfiber cloth is ideal because it’s soft and doesn’t leave behind tiny fibers. Avoid paper towels, as they can shed.
- Optional: Cotton swabs: These can be helpful for reaching tight spots, but make sure they are dry and lint-free.
- Good lighting: You need to see what you’re doing clearly.
It’s important to remember what NOT to use. Avoid water, cleaning solutions, alcohol, or anything wet. Moisture is the enemy here. It can corrode the contacts or even short-circuit your printer or cartridge. Harsh chemicals can also damage the delicate metal surfaces.
Step-by-Step Guide to Cleaning Toner Cartridge Contacts
Cleaning your toner cartridge contacts is a straightforward process. Follow these steps carefully, and you should have your printer working like new again.
Step 1: Safely Remove the Toner Cartridge
First things first, you need to access the cartridge. Always refer to your printer’s manual for specific instructions on how to remove it. Generally, you’ll need to:
- Turn off your printer and unplug it. Safety first!
- Open the printer cover or access door.
- Carefully slide out the toner cartridge. Handle it gently.
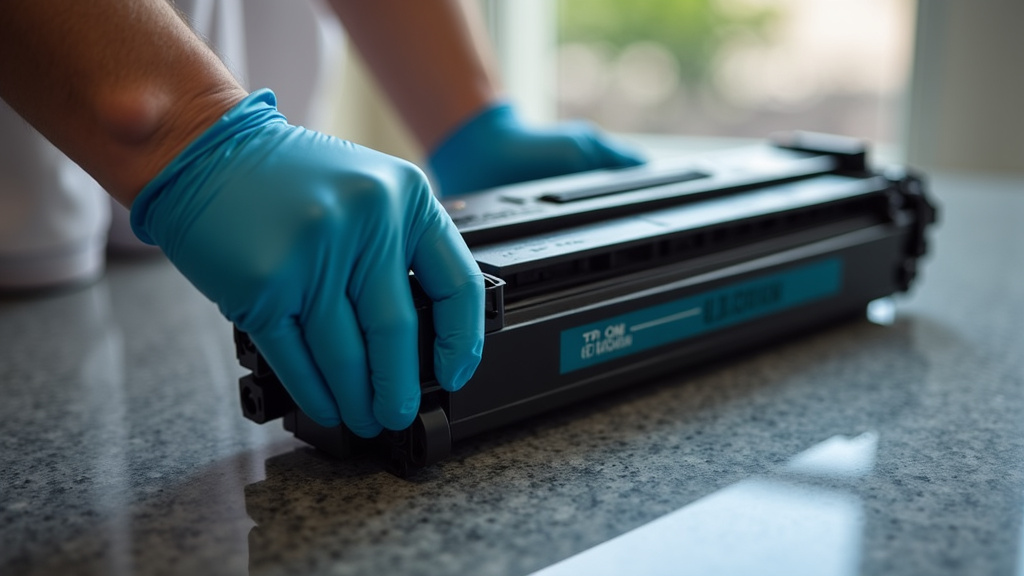
Once the cartridge is out, place it on a clean, flat surface. A piece of paper or a spare cloth can protect your workspace from stray toner. Also, note the location of the contacts on the cartridge. They are usually small, shiny metal or gold-colored pads.
Step 2: Inspect the Cartridge Contacts
Take a close look at the metal contacts on the toner cartridge. Do you see any visible dust, smudges, or debris? Even if they look clean to you, a gentle wipe is usually a good idea. It’s better to be safe than sorry. Sometimes, the problem is very subtle.
Step 3: Gently Wipe the Contacts
This is the most important step. Take your dry, lint-free cloth. Gently wipe each metal contact on the toner cartridge. Use a light, back-and-forth or circular motion. The goal is to remove any dust or grime. You don’t need to scrub hard. Pressing too hard could potentially damage the contacts.
If you have a stubborn bit of dust that your cloth can’t quite reach, you can try a dry cotton swab. Be very careful not to leave any cotton fibers behind. Again, no moisture or cleaning solutions here!
Step 4: Clean the Printer’s Contacts (If Accessible)
Some printers allow you to access the electrical contacts inside the printer itself. These are the points the cartridge’s contacts touch. If your manual shows you how to safely clean these, and you can see dust or debris, you can use the same method: a dry, lint-free cloth or a dry cotton swab. Be extremely cautious when cleaning inside your printer. If you’re unsure, it’s best to skip this step and just clean the cartridge.
Many printer manufacturers recommend that users only clean the cartridge contacts. Attempting to clean internal printer contacts can sometimes void your warranty or lead to accidental damage. We’ve found that cleaning the cartridge itself often resolves the issue.
Step 5: Reinstall the Toner Cartridge
Once you’re confident the contacts are clean, carefully slide the toner cartridge back into your printer. Make sure it seats properly. Close the printer cover or access door.
Now, plug your printer back in and turn it on. Your printer should now be able to communicate correctly with the toner cartridge. Hopefully, any error messages will disappear, and you’ll be able to print normally again.
What if Cleaning Doesn’t Fix the Problem?
Sometimes, even after cleaning the contacts, the issue might persist. What could be happening then? Here are a few possibilities:
- Defective Cartridge: The toner cartridge itself might be faulty. This can happen even with new cartridges.
- Internal Printer Issue: There could be a problem with the printer’s internal components, not just the contacts.
- Chip Malfunction: Modern toner cartridges have a chip that communicates with the printer. If this chip is damaged or malfunctioning, cleaning the contacts won’t help.
If cleaning doesn’t work, your best bet is to try a different toner cartridge. If the new cartridge works, you know the old one was the problem. If the new cartridge also causes issues, the problem likely lies with your printer. In that case, you might need to contact the printer manufacturer for support or consider professional repair.
Troubleshooting Checklist: Quick Solutions
Here’s a handy checklist to guide you through common toner cartridge issues and solutions:
- Check Toner Levels: Are you sure the toner isn’t actually low? Verify in your printer settings.
- Clean Cartridge Contacts: Use a dry, lint-free cloth on the metal pads.
- Reseat the Cartridge: Remove and reinsert the cartridge firmly.
- Try a Different Cartridge: Rule out a faulty cartridge by testing another one.
- Restart Your Printer: Turn the printer off, unplug it, wait 30 seconds, then plug it back in and power it on.
- Consult Your Manual: Printer manuals often have specific troubleshooting tips.
| Symptom | Possible Cause | Recommended Action |
|---|---|---|
| “Low Toner” Warning (Cartridge is New) | Dirty electrical contacts on cartridge or printer. | Clean cartridge contacts with a dry, lint-free cloth. |
| Printer Won’t Print / Error Message | Cartridge not recognized; dirty contacts. | Clean cartridge contacts; ensure cartridge is seated correctly. |
| Streaky or Faded Prints | Poor connection due to dirty contacts. | Gently wipe the metal contacts on the cartridge. |
| Cartridge Not Detected | Dirty contacts; faulty cartridge chip. | Clean contacts; try a different toner cartridge. |
Keeping your toner cartridge contacts clean is a simple habit that can prevent a lot of frustration. It’s like giving your printer a quick tune-up. Most of the time, a simple wipe is all it takes to get things working smoothly again. Remember to be gentle and avoid any liquids.
Conclusion
You’ve learned how crucial clean toner cartridge contacts are for your printer’s performance. A simple wipe with a dry, lint-free cloth can resolve many common printing issues. This includes annoying “low toner” warnings and poor print quality. Remember, patience and a gentle touch are key. If cleaning doesn’t solve your problem, don’t worry – there are other steps you can take. You’re now equipped to keep your printer running smoothly with this basic maintenance. Try cleaning your contacts today, and enjoy clearer prints!
Frequently Asked Questions
How often should I clean my toner cartridge contacts?
There’s no strict schedule, but cleaning contacts is a good idea whenever you notice printing problems or replace a cartridge. Many experts suggest a quick check every few months. It’s a simple preventative measure that can save you trouble.
Can I use a damp cloth to clean the contacts?
No, absolutely not. Moisture is your enemy when cleaning toner cartridge contacts. It can cause corrosion or damage the delicate metal components. Always use a dry, lint-free cloth for this task.
What if I see a small chip on the toner cartridge? Should I clean that too?
The small chip on the cartridge is electronic. Avoid touching or cleaning it directly. Focus your efforts on the larger, shiny metal pads. These are the electrical contacts that need a clean connection.
My printer still shows an error after cleaning. What else can I try?
If cleaning the contacts didn’t work, first try reseating the cartridge firmly. If that doesn’t help, the toner cartridge itself might be defective. The next best step is to try a different, known-good toner cartridge to see if the issue resolves.
Is it safe to clean the contacts inside the printer itself?
It’s generally safer to focus on the toner cartridge contacts. Some printer manuals may advise on cleaning internal contacts, but doing so incorrectly can void your warranty or cause damage. Stick to cleaning the cartridge if you’re unsure.