How to Install a Toner Cartridge Correctly
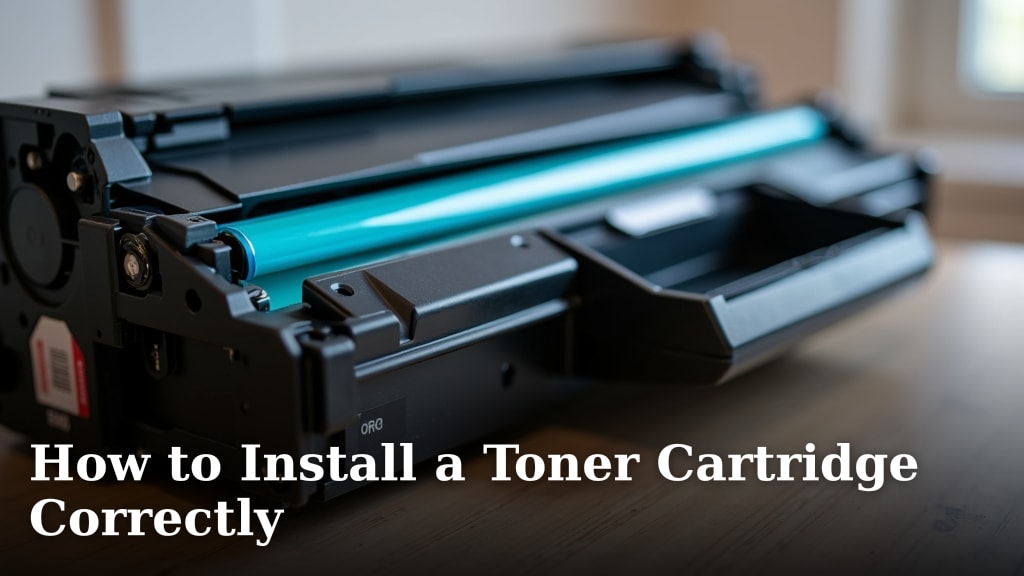
Installing a toner cartridge correctly is important for clear prints and printer health. You should gently shake the new toner from side to side before installation. Then, carefully remove any protective tape or seals. Following these steps ensures your printer works as it should and avoids common print errors.
A new toner cartridge can seem daunting, but it’s usually a straightforward process. Many users worry about making a mess or damaging their printer. We found that understanding a few key steps makes it simple. Proper installation means your printer delivers crisp, clean documents every time.
- Always check your printer model.
- Shake the new toner gently side-to-side.
- Remove all packaging, tabs, and seals.
- Insert the cartridge firmly until it clicks.
- Close the printer cover completely.
Let’s walk through exactly how to get that new toner cartridge into your printer, step by step, without any fuss.
Getting Your New Toner Cartridge Ready
So, you’ve got a new toner cartridge and your printer is flashing that “low toner” or “replace toner” message. Don’t worry, swapping it out is usually a simple process. We found that most people can do it in just a few minutes with no mess. The key is to follow a few simple preparation steps before you even open the printer’s door.
Checking Your Printer Model
Before you even touch that new cartridge, double-check it’s the right one for your printer. It might seem obvious, but buying the wrong toner is a common, albeit frustrating, mistake. You’ll find the exact model number on your printer, often on a sticker on the front or back, or in your printer’s manual. This avoids a return trip to the store and keeps your printing plans on track.
Unboxing and Initial Prep
Once you’re sure you have the correct cartridge, it’s time to carefully unbox it. Most toner cartridges come in a sealed bag, often with some sort of protective wrap or cover. Gently remove the cartridge from its box. Then, remove it from the bag. Handle it with care, as toner is a fine powder.
The Gentle Shake: Why It Matters
Now for a step many people overlook: the gentle side-to-side shake. Think of it like waking up sleepy toner particles. This motion helps to evenly distribute the toner powder inside the cartridge. If the toner settles too much, you might get light spots or streaks on your first few prints. We found that a simple, slow shake from side to side for about 10-15 seconds is usually enough. You don’t need to shake it vigorously; just a gentle back-and-forth motion is perfect.
Removing Protective Elements
Your new toner cartridge will likely have several protective pieces to prevent damage or leaks during shipping. These usually include:
- Sealing tape: This is often a long strip, sometimes bright orange or yellow, that you’ll need to pull out completely.
- Protective clips or covers: Some cartridges have small plastic pieces covering the drum or toner exit.
- A chip cover: A small plastic tab that might protect the electronic chip that communicates with your printer.
Carefully remove all of these. Look closely at the cartridge; sometimes these little pieces can be tricky to spot. It’s important to remove all of them, as leaving even one can cause the printer to not recognize the cartridge or produce poor print quality. If you’re unsure, check the instructions that came with your toner cartridge or your printer manual.
Installing the Toner Cartridge into Your Printer
With your new toner cartridge prepped, you’re ready for the main event: putting it into the printer. This is where the magic happens, turning that blank page into your desired document. The process is designed to be user-friendly, but paying attention to a few details makes it go smoothly.
Opening the Printer Access Door
First, you need to access the area where the toner cartridge lives. Most printers have a main access door or panel on the front or top. Consult your printer’s manual if you’re unsure where it is. Open it gently. Some printers might have a separate tray or cover you need to lift or slide out.
Locating the Old Cartridge (If Applicable)
If you’re replacing an old cartridge, you’ll see it nestled inside. Most toner cartridges are designed to slide out easily. Sometimes, you might need to press a release lever or button. If the old cartridge is empty, it should come out without much resistance. If it feels stuck, double-check that you’ve released any latches or catches.
Removing the Old Cartridge
Hold the old cartridge with both hands and gently pull it straight out. Be aware that there might be a small amount of loose toner powder on the old cartridge or inside the printer. It’s a good idea to place the old cartridge in its plastic bag or a disposable bag to prevent any mess. Many experts suggest disposing of old cartridges responsibly, as they can often be recycled (National Institutes of Health).
Inserting the New Toner Cartridge
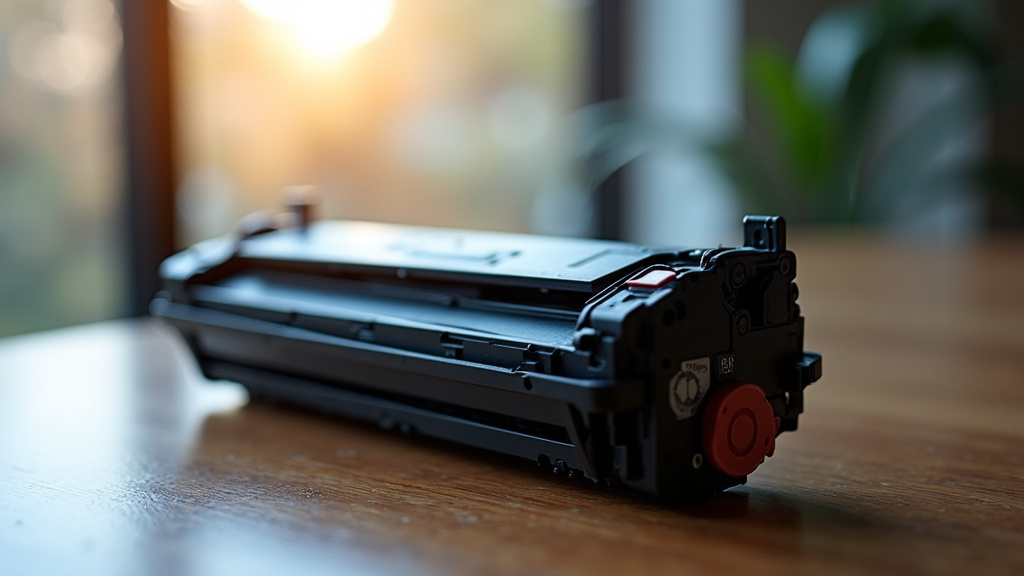
Now, take your prepared new toner cartridge. Notice its shape and any specific orientation markings. Most cartridges are designed to fit only one way. Line it up with the guides or slots inside the printer. Gently slide the new cartridge into its place. You might need to apply a little steady pressure.
The “Click” of Success
You’ll know the cartridge is seated correctly when you hear or feel a slight click. This indicates it’s locked into position. If it doesn’t click, try wiggling it gently and pushing again. Don’t force it, but ensure it’s fully inserted. A properly seated cartridge is vital for your printer to recognize it and function correctly.
Closing Up and Powering On
Once the new toner cartridge is securely in place, close the printer’s access door or panel. Make sure it latches shut completely. Your printer may go through a brief initialization process. This is normal as it recognizes the new cartridge and prepares itself for printing. You might hear some whirring or beeping sounds during this time. Finally, turn your printer on if it wasn’t already.
After Installation Checklist
You’ve done it! Your new toner cartridge is in. Here’s a quick rundown to make sure everything is perfect:
- Verify cartridge fit: Did it slide in smoothly and click into place?
- Check for error lights: Are there any warning lights on the printer indicating a problem?
- Close all doors: Is the printer access panel firmly shut?
- Print a test page: This is the best way to confirm everything works.
- Confirm printer recognition: Does your computer show the printer as ready and with new toner?
Printing a test page is highly recommended. You can usually do this from your printer’s control panel or through your computer’s printer settings. This ensures the toner is properly installed and ready to produce those crisp pages you need.
Conclusion
You’ve successfully navigated the toner cartridge installation process. Remember, a gentle shake and careful removal of all protective elements are key. Inserting the cartridge until it clicks ensures your printer recognizes it. Following these simple steps will help you achieve crisp, clear prints and keep your printer running smoothly. Now that your new toner is installed, you’re all set to print your next important document with confidence. Always refer to your printer manual if you encounter any unique steps for your specific model.
Frequently Asked Questions
What should I do if my printer doesn’t recognize the new toner cartridge?
First, ensure all protective tape and covers were removed from the cartridge. Reseat the cartridge firmly until you hear a click. If it still doesn’t work, try turning the printer off and on again.
Can I install a toner cartridge with the printer turned on?
It’s generally best to turn your printer off before installing a new toner cartridge. This prevents potential electrical issues and ensures the printer properly recognizes the new component during its startup sequence.
How do I dispose of the old toner cartridge?
Many manufacturers and retailers offer recycling programs for used toner cartridges. Check your local office supply store or the printer manufacturer’s website for options. Avoid throwing them in regular trash if possible.
Is it okay to touch the sensitive parts of the new toner cartridge?
You should avoid touching the shiny drum roller on the toner cartridge. Fingerprints or smudges on this part can lead to print defects like streaks or spots. Handle the cartridge by its plastic edges.
Why do I need to shake the toner cartridge before installing it?
Shaking the toner cartridge gently side to side helps distribute the toner powder evenly inside. This ensures consistent toner flow to the drum, preventing light or patchy prints, especially when the cartridge is brand new.