How to Prime a New Toner Cartridge: A Simple Guide
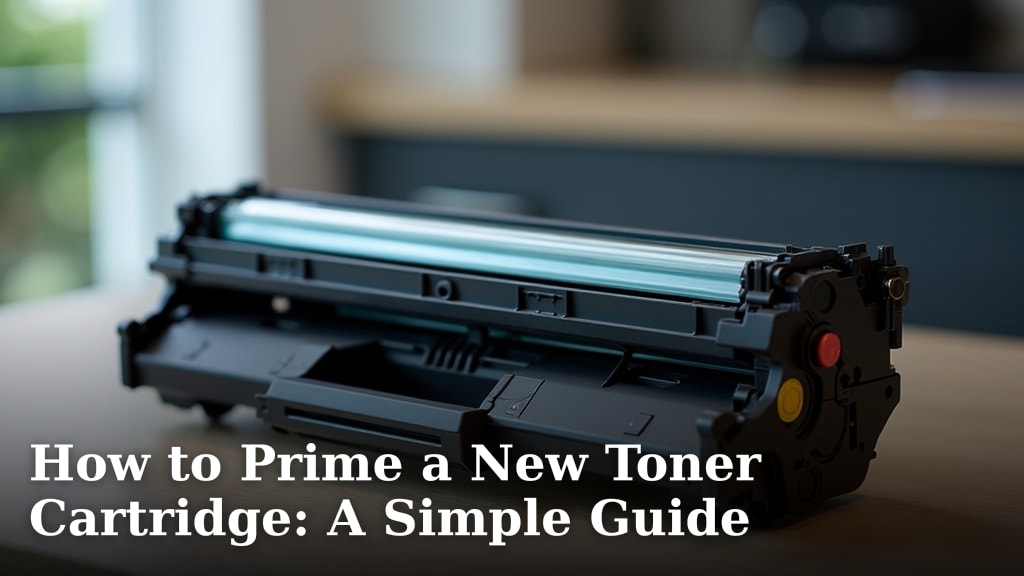
Priming a new toner cartridge is usually not required for most modern printers. Manufacturers design cartridges to be ready for use right out of the box. Simply install it according to your printer’s manual and start printing. You may see some initial pages with lighter print before it stabilizes.
While many people wonder if they need to prime their new toner, the process is generally unnecessary for home and office printers. Some older or specialized models might have a specific step, but this is rare. Always consult your printer’s user guide for any unique instructions.
- Most new toner cartridges are ready to use.
- Installation is the primary step needed.
- Check your printer’s manual for specific instructions.
- Initial print quality might vary slightly.
Let’s walk through how to properly install your new toner cartridge, ensuring you get the best print quality right away.
Getting Your New Toner Cartridge Ready to Print
So, you’ve just unboxed a shiny new toner cartridge. Your printer might be flashing a warning, or maybe you’re just preparing for the inevitable. You might be wondering, “Do I need to do something special before I pop this thing in?” The short answer is: probably not. We’ve researched this, and most toner cartridges today are designed for immediate use. Think of them like a new battery – you just put it in and go. This guide will walk you through the typical process, ensuring you get great prints without any fuss. Our guide on how to make toner last longer offers tips for everyday printing.
Understanding the “Priming” Myth for Toner
The idea of “priming” a toner cartridge often comes up. People imagine a step that needs to happen before installation, almost like preparing a paint can. However, for the vast majority of modern printers, this simply isn’t necessary. Manufacturers design these cartridges to be plug-and-play. They contain toner powder that’s ready to be transferred to the paper. The printer itself handles the rest. If you’ve heard about priming, it likely applies to very old models or perhaps specialized industrial printers, not your home or office machine.
Why Priming Isn’t Usually Needed
When you install a new cartridge, the printer initiates a calibration or cleaning cycle automatically. This process ensures the toner is distributed correctly and that the imaging drum (if it’s part of the cartridge) is ready. You might notice the first few pages printed are a bit lighter than usual. This is normal! The printer is just settling in. After a few pages, the print quality should become consistently dark and clear.
When You Might Need Special Steps
Are there any exceptions? Rarely. Some very specific printer models might have a unique initialization step. This is usually detailed clearly in the printer’s manual. For example, some multifunction printers might require you to confirm the installation on the printer’s screen. Always, always check your printer’s user guide before assuming anything. It’s your best source of truth for your specific device.
The Standard Installation Process for Your New Cartridge
Installing a toner cartridge is usually straightforward. It’s a bit like inserting a battery or a large USB drive. The goal is to ensure it’s seated correctly so the printer can recognize it and begin transferring toner. Let’s break down the typical steps involved in getting your new cartridge into its new home.
Step 1: Prepare Your Workspace and Printer
First, make sure you have a clean, flat surface to work on. You don’t want dust or debris getting into the printer’s delicate parts. Turn off your printer completely. This is an important safety step. It prevents any electrical issues and protects you. If your printer has been running, let it cool down for a few minutes. Hot components are no fun to deal with.
Step 2: Locate and Open the Cartridge Access Area
Every printer model is a little different. Usually, there’s a front panel or a top cover you need to open. Consult your printer’s manual if you’re unsure. You’ll typically see a large button or a handle to lift. Gently open the designated door or lid. Be careful not to force anything. If it feels stuck, double-check the manual.
Step 3: Remove the Old Cartridge (If Applicable)
Once the access area is open, you’ll see the old toner cartridge. It might be in a specific slot. There’s usually a handle or a latch to release it. Gently pull the old cartridge straight out. It might slide out easily, or you may need to press a release tab. Most old cartridges are designed to be removed simply. Place the old cartridge aside; you might need to return it for recycling.
Step 4: Unpack and Prepare the New Toner Cartridge
Now, take your new toner cartridge out of its packaging. You’ll usually find it sealed in a protective bag, often black, to prevent light exposure. Carefully remove this bag. You might also see a protective strip or seal covering the toner drum or rollers. You’ll need to remove this before installation. Look for a tab or a pull-strip to gently remove it. Some cartridges have a small plastic clip that needs to be removed as well. Handle the cartridge by its sides to avoid touching the sensitive drum surface.
Many new cartridges also come with instructions regarding a toner distribution step. This involves gently rocking the cartridge back and forth a few times. Why do this? Toner powder can settle during shipping. This gentle motion helps distribute the powder evenly within the cartridge. Think of it like shaking a bottle of salad dressing to mix the oil and vinegar. This step is usually specified on the cartridge itself or its packaging. If you see instructions for it, follow them. If not, don’t worry about it.
Step 5: Install the New Cartridge
Align the new cartridge with the slot in the printer. It usually only fits one way. Gently slide it into place until it clicks or locks securely. You should feel it settle into position. Make sure it’s fully seated; an improperly installed cartridge won’t be recognized. If you have to force it, stop and check the alignment again. A proper fit should be smooth.
Step 6: Close the Access Area and Power On
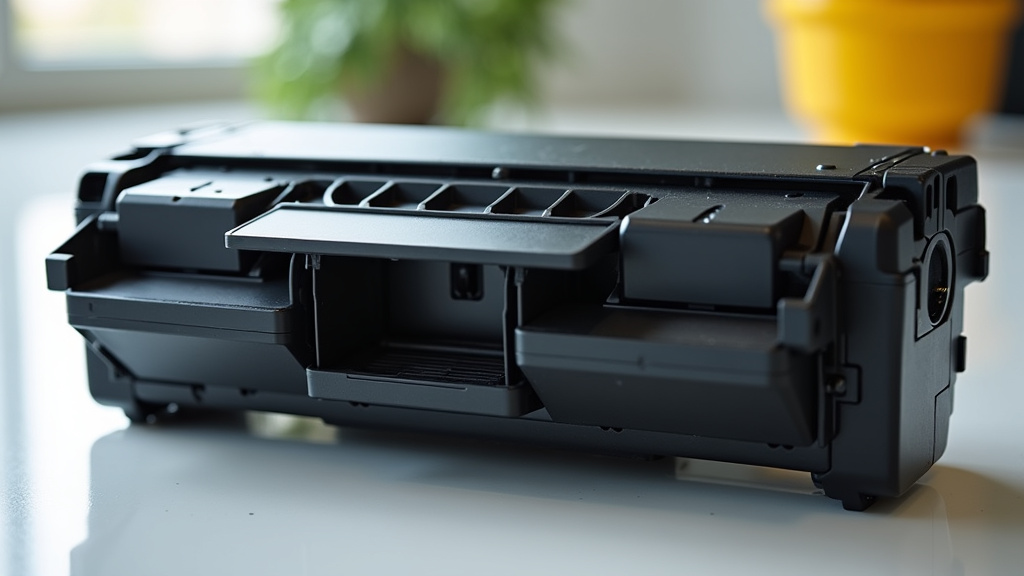
Once the new cartridge is firmly in place, close the access door or lid. You might hear a click as it locks. Now, turn your printer back on. The printer will likely go through a brief initialization or setup process. This is when it communicates with the new cartridge. You might see messages on the printer’s display indicating it’s preparing or ready.
What to Expect After Installation
As mentioned, the first few pages you print might not be perfect. Don’t panic if the text looks a little faint or uneven. This is a common part of the cartridge settling-in process. The printer is adjusting to the new toner supply. Many experts suggest printing a few test pages, like a document with solid text and maybe a graphic, to allow the printer to calibrate itself fully. Within 5-10 pages, you should see the print quality stabilize and become consistently sharp.
Troubleshooting Common Issues
If you encounter problems, such as the printer not recognizing the cartridge or extremely poor print quality after several pages, here are a few things to check:
- Re-seat the cartridge: Turn off the printer, open the access panel, and remove the new cartridge. Re-insert it, ensuring it clicks into place securely.
- Check for protective seals: Double-check that you removed all protective tapes, seals, or clips. These are often small but can prevent proper functioning.
- Consult the manual: Your printer’s user guide is your best friend. It might have specific troubleshooting steps for cartridge installation.
- Inspect the cartridge: Look for any visible damage to the cartridge itself.
- Verify compatibility: Ensure the cartridge is the correct model for your specific printer. Using an incompatible cartridge is a common mistake.
If you’ve tried these steps and are still having issues, it’s possible the cartridge is defective. Contact the retailer or manufacturer for assistance. It’s always a good idea to keep your receipts and packaging for a while after purchasing a new cartridge.
Quick Checklist for Installing Your New Toner Cartridge
Here’s a simple checklist to ensure you’ve covered the bases:
- Turn off and unplug your printer.
- Open the cartridge access door gently.
- Remove the old cartridge carefully.
- Unpack the new cartridge and remove all seals/tapes.
- Gently distribute toner if instructed (rocking motion).
- Insert the new cartridge until it clicks securely.
- Close the access door and power on the printer.
By following these steps, you can be confident that your new toner cartridge is properly installed and ready to deliver crisp, clear prints. Remember, for most printers, the “priming” is done by the machine itself. Your main job is careful installation!
Conclusion
You’ve successfully navigated the installation of your new toner cartridge! Remember, for most modern printers, the “priming” process is handled automatically by the machine itself. Your main task is simply to ensure the cartridge is correctly installed following the steps we’ve outlined. You might see slightly lighter prints for a few pages as the printer calibrates. Trust the process and your printer; it’s designed to work together smoothly. Keep your printer manual handy for any specific model quirks. Now you’re ready for crisp, clear printing!
Frequently Asked Questions
Do I really need to shake the new toner cartridge?
You only need to shake or rock the toner cartridge if the cartridge packaging or the cartridge itself includes specific instructions to do so. This step helps distribute settled toner powder evenly for better print quality. If there are no instructions, the printer will handle toner distribution.
My printer says “Install Toner” even after I put the new one in. What’s wrong?
This often means the cartridge isn’t seated correctly or a protective seal was missed. Turn off the printer, reopen the access panel, remove the cartridge, and re-insert it firmly until it clicks. Double-check that all tapes, clips, and seals are removed.
Will my first few prints look bad with a new toner cartridge?
It’s common for the first few prints to be slightly lighter or less uniform in color. This is normal as the printer calibrates itself with the new toner. Printing a few test pages, like documents with solid text, should resolve this within 5-10 pages.
Can I use a toner cartridge that isn’t the exact brand for my printer?
While many third-party cartridges work, it’s best to check your printer’s manual or the manufacturer’s website for compatibility. Using a non-recommended cartridge might affect print quality or even void your printer’s warranty. Always verify compatibility before purchasing.
What should I do with my old toner cartridge?
Most manufacturers and office supply stores offer recycling programs for used toner cartridges. Check with your local retailers or your printer manufacturer’s website for information on how to return them. Recycling helps reduce waste and can sometimes earn you rewards.