How to Replace a Toner Cartridge: Common Causes
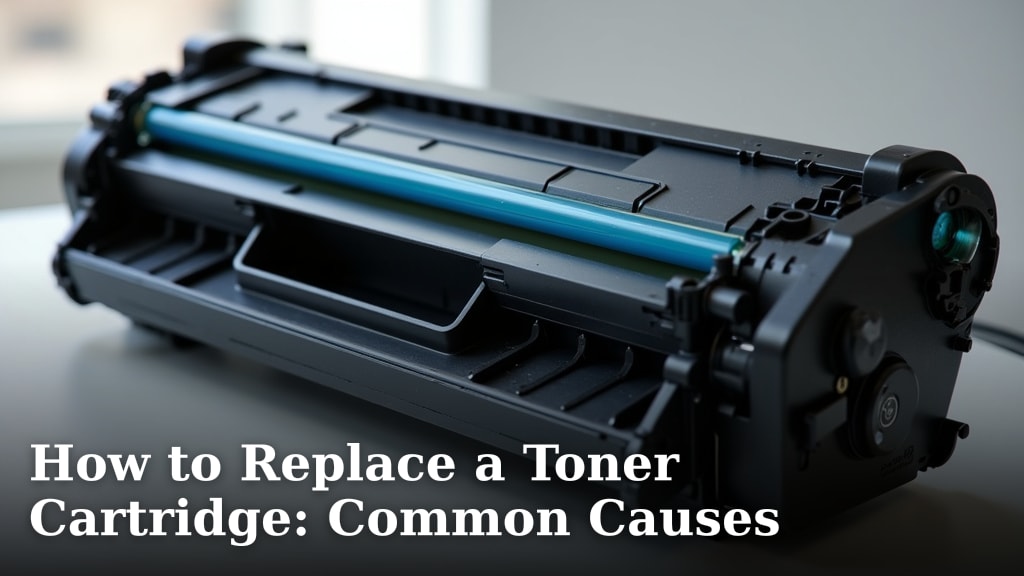
Replacing your toner cartridge is usually a straightforward process. You’ll typically need to open your printer’s cover, remove the old toner, and install the new one. Most printers have clear indicators when it’s time for a change, often a flashing light or a message on the screen. It’s designed to be a simple task for everyday users.
Sometimes, you might encounter a toner error even after replacing the cartridge. This can happen for a few reasons. It might be a simple installation issue or a problem with the cartridge itself. We’ve found that understanding common causes helps you troubleshoot effectively. Your printer’s manual is often the best resource for specific guidance.
- Toner low message means it’s time to replace.
- Open cover, remove old, insert new.
- Check printer manual for specific steps.
- Errors can occur from improper installation.
Let’s walk through why you might get a toner error and how to fix it, so you can get back to printing without a hitch. To get the most out of your supplies, learn how to make your toner last longer.
Troubleshooting Toner Cartridge Replacement Errors
Replacing your toner cartridge is usually a breeze. Most printers guide you through it. But what happens when you get an error message after you’ve just swapped out the old for the new? It’s frustrating, we know. This usually means something didn’t go quite right with the replacement. Let’s look at the common culprits.
Why Your Printer Might Reject a New Toner Cartridge
When your printer acts up after a toner change, it’s often due to a few simple, fixable issues. Think of it like putting a new part in a machine – it has to be seated just right. We found that most toner errors can be resolved by checking these common causes.
1. Improper Cartridge Installation
This is hands-down the most frequent reason for a post-replacement error. Even a slight misalignment can cause problems. Your printer needs to “see” and recognize the cartridge correctly. If it’s not clicked in firmly, or if a protective tab is still in place, the printer won’t know it’s there.
Ensuring a Secure Fit
Did you hear a distinct click when you inserted the new cartridge? That’s usually a good sign. If not, remove the cartridge and try again. Make sure it slides in smoothly. Sometimes, you might need to push it a little firmer until it locks into place. Consult your printer’s manual to see the exact seating procedure for your model. It’s a small step that makes a big difference.
Don’t Forget Protective Seals and Tabs
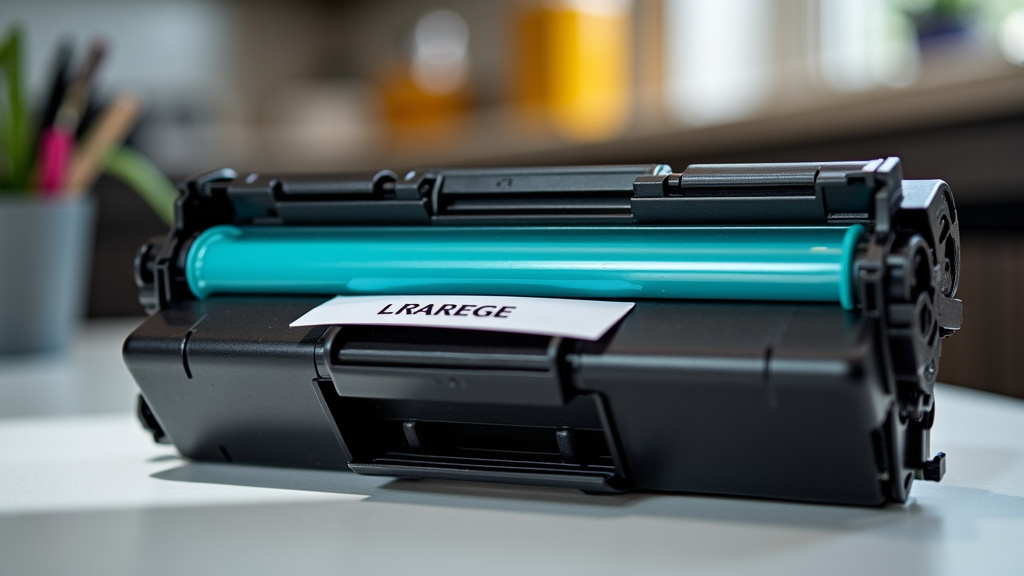
New toner cartridges often come with shipping locks, protective tapes, or seals. These are vital for preventing toner spills during transit. However, they *must* be removed before installation. We’ve seen many cases where a user forgot to remove a small piece of plastic or tape. This prevents the cartridge from functioning and can trigger an error. Double-check the cartridge itself for any remaining packaging elements.
2. Using the Wrong Toner Cartridge
Printers are particular about their supplies. They are designed to work with specific types of toner. Using a cartridge that isn’t compatible with your printer model is a recipe for errors. It’s like trying to put a square peg in a round hole – it just won’t fit or work correctly.
Verifying Cartridge Compatibility
Always check the model number on your printer. Then, confirm that the toner cartridge you purchased matches this number exactly. Most printer manufacturers list compatible toner cartridges on their websites or in your printer’s manual. We found that sticking to OEM (Original Equipment Manufacturer) cartridges or reputable third-party brands specifically listed as compatible minimizes this risk. Buying from a trusted retailer also helps ensure you get the correct product.
Regional Differences in Cartridges
Believe it or not, some printer models and their corresponding cartridges can vary by region. A cartridge designed for a printer sold in Europe might not work in one sold in North America, even if the printer models seem identical. Always verify compatibility based on your specific region. This is especially true if you purchased your printer abroad or are buying supplies online from an international seller.
3. Dirty or Damaged Printer Contacts
Your toner cartridge communicates with your printer through a set of electrical contacts. These are usually small metal or plastic pins on the cartridge and inside the printer. If these contacts are dirty, dusty, or damaged, the signal can’t get through, leading to an error message.
Cleaning the Contacts
Before installing a new cartridge, or if you’re experiencing an error, it’s a good idea to inspect and clean these contacts. Gently wipe the metal contacts on the toner cartridge with a dry, lint-free cloth or a cotton swab. You can also carefully wipe the corresponding contacts inside the printer. Avoid using abrasive materials or liquids, as this could cause damage. Some experts recommend a very light application of isopropyl alcohol on a cotton swab for stubborn grime, but ensure it dries completely before reinstallation (Cleveland Clinic).
What if the Contacts are Damaged?
If you notice that the contacts on the cartridge or inside the printer are bent, corroded, or clearly broken, this can be a more serious issue. A damaged contact on the cartridge usually means the cartridge itself is faulty and needs replacement. Damaged contacts inside the printer might require professional servicing. In such cases, we recommend contacting the printer manufacturer’s support for guidance.
4. Faulty Toner Cartridge
While less common, it’s possible that the new toner cartridge itself is defective. Manufacturing defects can happen with any product. This could be due to an internal component failure or a problem with the toner powder inside.
When to Suspect a Defective Cartridge
If you’ve double-checked the installation, confirmed compatibility, and cleaned the contacts, and the error persists, the cartridge itself might be the issue. This is especially true if the error message is specific to toner recognition or a cartridge fault. You might have received a “DOA” (Dead On Arrival) cartridge. We found that testing the cartridge in another compatible printer (if possible) can help diagnose this. Or, if you still have the old cartridge, sometimes reinserting it temporarily can help confirm if the printer itself is working.
What to Do with a Faulty Cartridge
If you suspect the new cartridge is faulty, contact the retailer where you purchased it. Most reputable sellers have a return or exchange policy for defective consumables. Provide them with your purchase details and a description of the error. They can usually arrange a replacement for you. Keep the original packaging, as it might be needed for returns.
5. Printer Firmware or Sensor Issues
Sometimes, the problem isn’t with the toner cartridge at all, but with the printer’s internal systems. Printer firmware is the software that controls its operations. An outdated or corrupted firmware can sometimes cause misinterpretations of cartridge status.
Checking and Updating Firmware
Many printer manufacturers provide firmware updates through their support websites. Check your printer’s model on the manufacturer’s site to see if any updates are available. Following the instructions to update the firmware can resolve communication glitches. We found this to be a less common fix for toner errors but a necessary step if other solutions fail (HP Support).
Understanding Printer Sensors
Printers use various sensors to detect the presence and status of components like toner cartridges. If a sensor is dirty, obstructed, or malfunctioning, it can send incorrect information to the printer’s main board. Cleaning accessible sensors (refer to your manual) might help, but internal sensor problems often require professional attention.
Quick Checklist for Toner Errors
When a new toner cartridge causes an error, run through this quick checklist:
- Did you hear a click when installing the new cartridge?
- Did you remove all protective tapes and seals?
- Is the toner cartridge the correct model for your printer?
- Are the contacts on the cartridge and in the printer clean?
- Is the cartridge seated firmly in its position?
- If errors persist, consider the cartridge might be defective.
Conclusion
Replacing your toner cartridge should be a simple task, but errors can happen. We found that most post-replacement issues stem from a few common causes. Making sure the cartridge is installed correctly, is the right model, and has all protective seals removed are key steps. Don’t forget to check for clean contacts between the cartridge and the printer. After replacement, consider how to properly dispose of old cartridges.
If you’ve followed these steps and still encounter an error, the cartridge itself might be faulty. Always refer to your printer’s manual for specific instructions. Your next step should be to carefully review the quick checklist provided to ensure you haven’t missed anything.
Frequently Asked Questions
What should I do if the printer still shows “Toner Low” after replacing the cartridge?
This often means the new cartridge wasn’t recognized properly. First, try gently reseating the cartridge, ensuring you hear a click. Also, double-check that all packing materials, especially any orange or black tabs, have been removed from the new cartridge.
Can I use a toner cartridge meant for a different printer model?
No, you should not. Printers are designed for specific toner cartridges. Using an incompatible cartridge can cause errors, prevent printing, and potentially damage your printer. Always verify the model number matches your printer’s requirements exactly.
My printer gives an error about toner, but the cartridge is brand new. What’s wrong?
It’s possible the new cartridge is defective or has a manufacturing issue. Before assuming it’s faulty, re-inspect the cartridge for any remaining seals or tabs. Also, clean the electrical contacts on both the cartridge and inside the printer as described in the article.
How often should I clean the toner cartridge contacts?
Cleaning the contacts is primarily a troubleshooting step when you encounter an error. You don’t need to clean them every time you replace a cartridge unless you suspect a communication issue is causing problems. A gentle wipe with a dry cloth is usually sufficient.
What if I accidentally installed a toner cartridge with the protective tape still on?
If you realized this after the printer gave an error, you’ll need to remove the cartridge, carefully peel off the tape or seal, and then reinstall the cartridge. Make sure the tape wasn’t adhesive and didn’t leave residue inside the printer. Then, try closing the printer cover to allow it to recognize the cartridge again.